Device Settings
Note
This section only applies to real equipment pods or hybrid designs. If your pod design contains only virtual machines, you can skip this section. For more information please see Real Equipment Pod Reference.
Adding a Lab Device
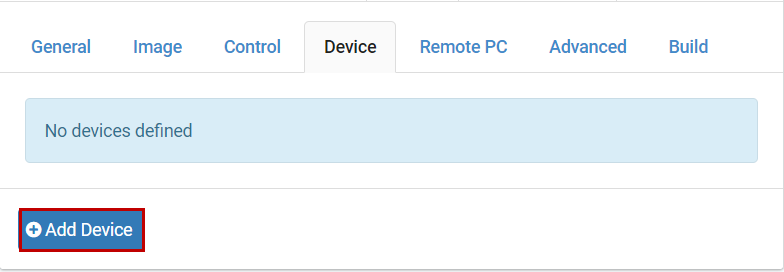
Click Add Device to add a new device.
Complete the settings for the new device.
Click the OK button to save the new device.
Device Settings
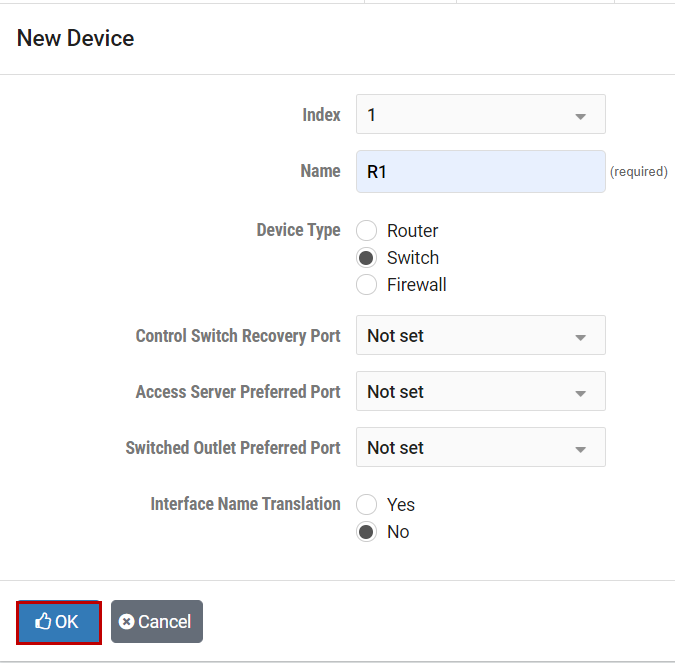
- Index:
This value determines the order in which the device will appear in the various lab access tabs.
- Name:
The default name of the device. This may be overridden by lab exercises.
- Device Type:
The type of managed device required: router, switch, or firewall.
- Control Switch Recovery Port:
The relative control switch port that will be used to recover an IOS image that has been erased flash. This port is always connected to the lowest-numbered Ethernet port on the lab device. A value of “not set” can be specified to save a control switch port and/or if the NETLAB+ device driver does not support image recovery. This feature only applies to older Cisco devices that are no longer supported. Newer models will recover from USB and/or flash if recovery is supported.
- Access Server Preferred Port:
The suggested port on the access server the lab device should use relative to the first port. This value will be used if the administrator requests consecutive ports. However, the administrator may override this value and explicitly choose an access server and port.
- Switched Outlet Preferred Port:
The suggested port on the switched outlet device this lab device should use relative to the first port. This value will be usedif the administrator requests consecutive ports. However, the administrator may override this value and choose any switched outlet device and port.
- Interface Name Translation:
The feature allows configuration files saved by NETLAB+ to be loaded, without errors, on a different pod with different router types. This setting is currently supported on managed routers and ignored by managed switches and firewalls. As a configuration is loaded, NETLAB+ will substitute the correct interface names for the actual router types being used (if necessary). To do this, NETLAB+ maintains a fixed table of interface names that should be present on each supported router model. Currently, this table supports two Ethernet and two serial interfaces. If possible, you should always use the same hardware models on a similar pod type. This way, the interface names will not be a factor during automated load and save operations.
Setting Hotspots
You may define clickable hotspots for devices shown on the default topology image. A hotspot is an invisible rectangular area placed on top of a device in the image. When a user clicks on a device, NETLAB+ will launch a terminal application and connect to the console of the device.
Please see the hotspots section for more information on how to set hotspots.
Cable Guidance
Each managed device can provide cabling guidance for the administrator. This feature is currently used by NDG for NETLAB+ pods. This feature is not yet documented for general use.
Note
The control settings are only required for real equipment pods or hybrid designs. If your pod design contains only virtual machines, you can skip this section.
Modifying a Device
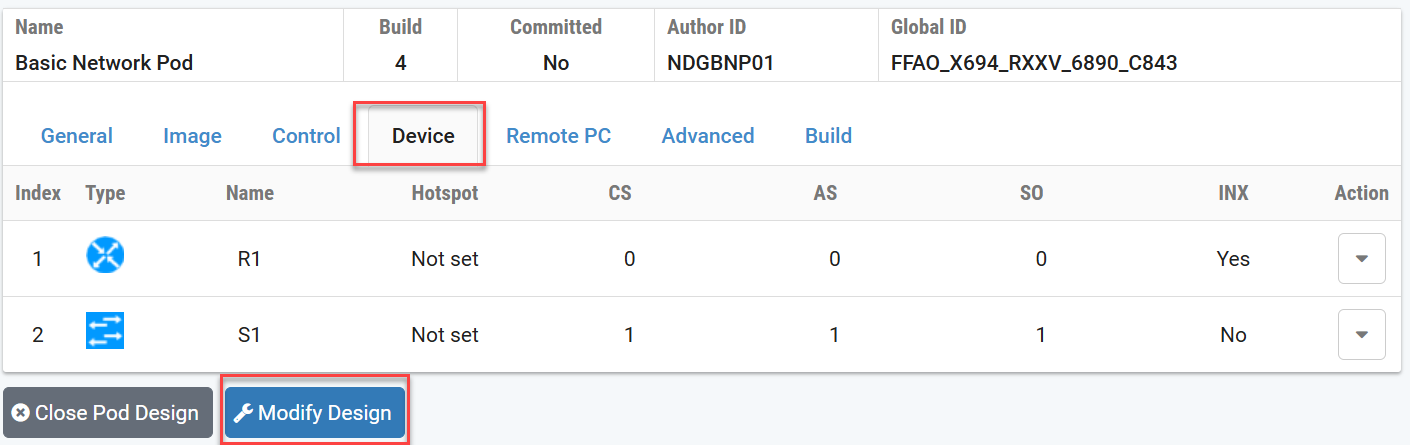
Click on the Device tab.
If you are not already modifying the pod design, click the Modify Design button. This may require a password if one is set.
Click the Edit dropdown menu on the Actions
menu for the device you wish to modify.
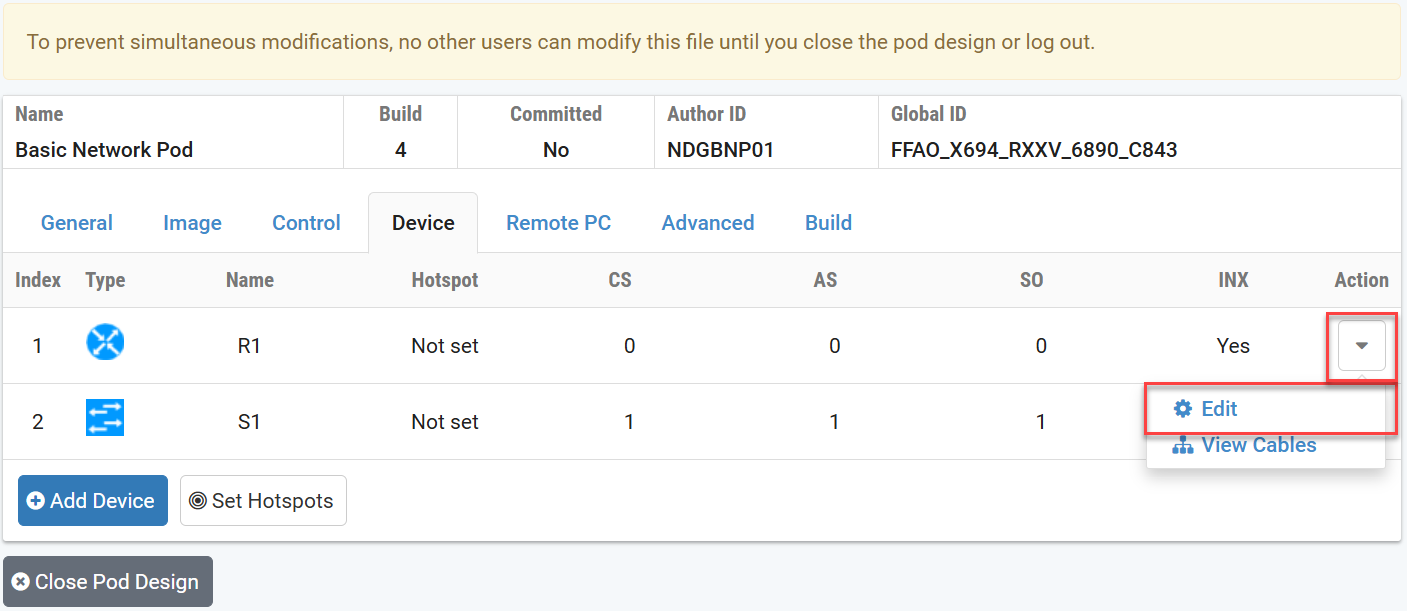
Adjust the settings as needed.
Click the OK button to save the changes.
Removing a Device
If you are not already modifying the pod design, click the Modify Design button. This may require a password if one is set.
Click the Edit dropdown menu on the Actions
menu for the device you wish to modify.
Click the Remove Device button.
Important
You cannot change the number or position of devices after the pod design has been committed. You must Retool or Clone the pod design to make such changes.