Managing SSL Certificates
A valid SSL/TLS certificate is required to access the NETLAB+ securely over HTTPS. NETLAB+ uses a self-signed certificate by default. This certificate is not trusted by browsers and will generate a warning message when you attempt to access the system. To avoid this warning, you must replace the self-signed certificate with a signed certificate from a trusted Certificate Authority (CA). NETLAB+ supports three methods for adding a signed certificate:
Create a new certificate signing request (CSR) and private key through NETLAB+.
Import an existing signed certificate and private key created by your organization.
Use Let’s Encrypt™ to automatically obtain a free signed certificate.
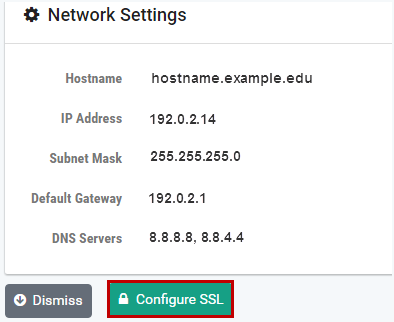
Navigate to > Settings > Network Settings
Click Configure SSL
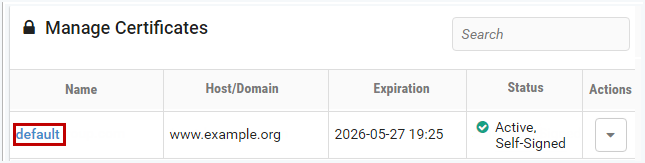
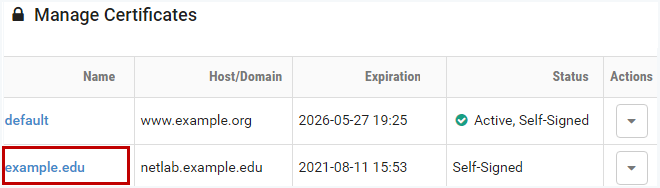
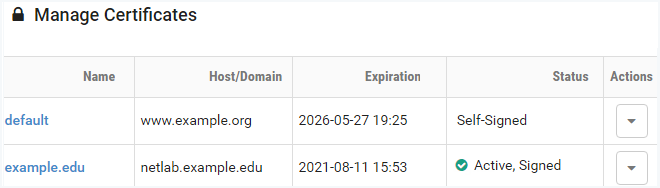
View Certificates
From the list of certificates, view the details of a certificate by clicking the certificate name.
To view detailed information about the certificate, click the Details button.
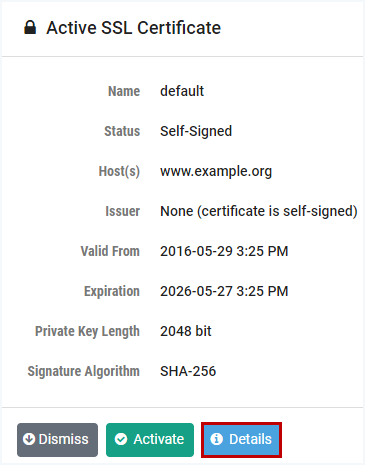
Click Dismiss to return to the previous page.
Add Certificates
To configure a signed certificate to your NETLAB+ system:
Navigate to > Settings > Network Settings
Click Configure SSL
Click Add Certificate

Select one of the following options and click Next.
- Generate a Certificate Signing Request:
Creates a new certificate request, temporary certificate, and new private key through NETLAB+. You will send the request to the Certificate Authority (CA) of your choice. Once you receive a signed version from the CA, you will update the certificate in NETLAB+.
- Use Existing Certificate and Private Key:
Uses an existing signed certificate and private key for your organization (this can be a domain-level certificate). You will proceed by adding the certificate and private key to your NETLAB+ system.
- Use Let’s Encrypt™:
Initiates an automated process where your NETLAB+ system will request and obtain a signed certificate from Let’s Encrypt, a free certificate authority.
Replace Certificate
Replacing a certificate is required when the certificate is about to expire or has already expired.
Note
This does not apply to the default self-signed certificate or certificates generated automatically by Let’s Encrypt™.
Navigate to > Settings > Network Settings
Click Configure SSL
Note
If the certificate you want to replace is active, you must first
activate another certificate. Click the action dropdown
next to the certificate and select Activate. Typically you would activate the
default self-signed certificate temporarily.
Select the certificate you want to replace, which should now be inactive.

Click Replace
Paste the signed certificate you received from the CA into the New Certificate text box, including the header and footer lines.
Note
The certificate must be in PEM format. The PEM certificate format uses the following header and footer lines, which should should be included:
-----BEGIN CERTIFICATE-----
-----END CERTIFICATE-----
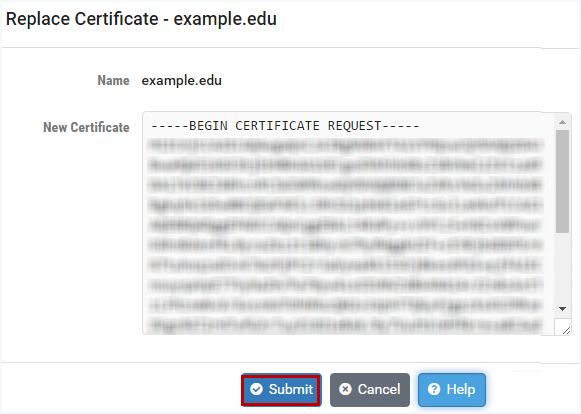
Click Submit
Activate the new certificate.
Activate Certificate
To make a certificate active:
Navigate to > Settings > Network Settings
Click Configure SSL
Select the certificate you want to activate. Normally this should be a valid signed certificate that has not expired.
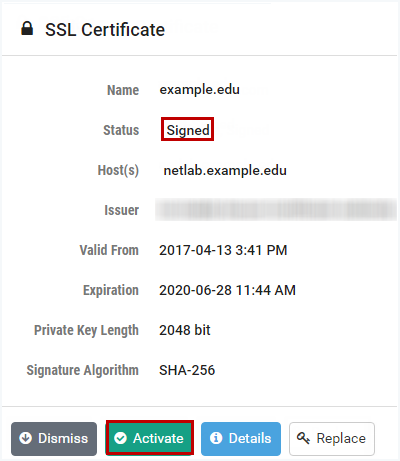
Click Activate and confirm the action.

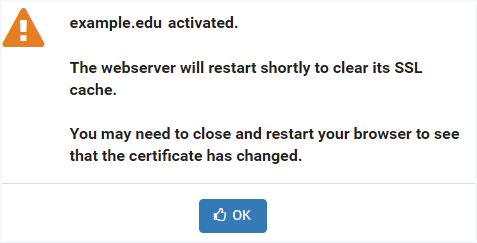
Verify that the signed certificate is now active. If the signed certificate is not active, it may be necessary to log off the system, close your browser window, and then re-enter the system.
Tip
Unless you are using a self-signed certificate, your browser should indicate that the connection is secure.

Delete Certificate
Navigate to > Settings > Network Settings
Click Configure SSL
Select the certificate you want to remove.
Click Delete
Click OK to confirm the removal of the certificate.
Note
Neither the default self-signed certificate nor the active certificate can be removed.
The default self-signed certificate is used to access the system when no other certificate is available.
To delete the active certificate, you must first activate another certificate, such as the default.