Manage API Settings
New to NETLAB+ is the ability to communicate with the system through APIs (Application Program Interface), allowing customers to create custom automation scripts for many of NETLAB+’s administrative functions, such as automatically adding accounts from a Learning Management System (LMS).
To view and manage API settings, select Settings from the administrator Home page,
and then select Manage API Settings.

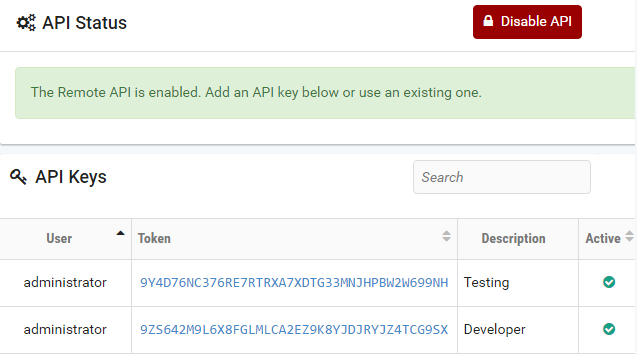
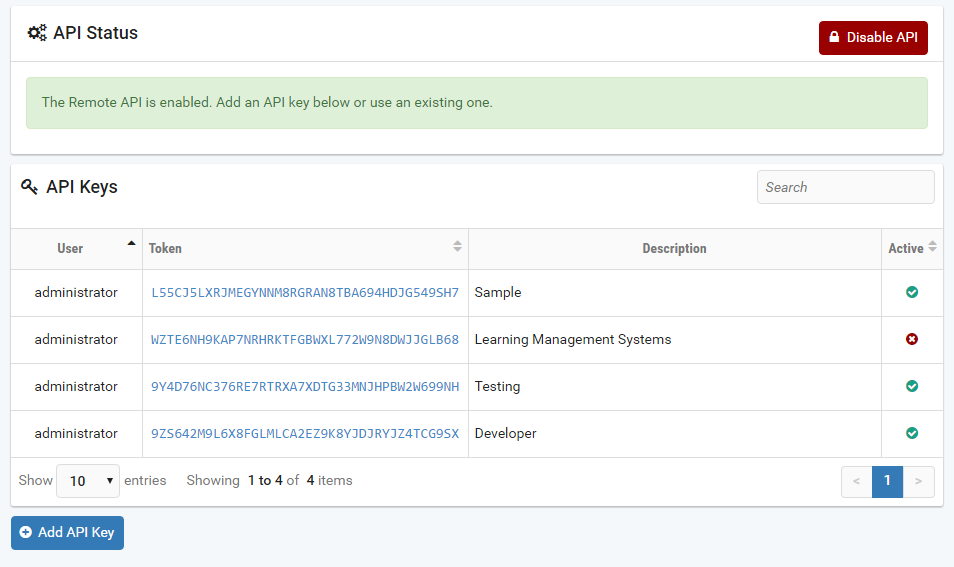
The API status and any existing API keys are displayed.
Add an API Key
API Keys are required in order to authorize other Linux machines to use automated NETLAB+ functions.
Note
Details on the use of API keys are provided in the NETLAB+ Software Development Kit (SDK), available from NDG.
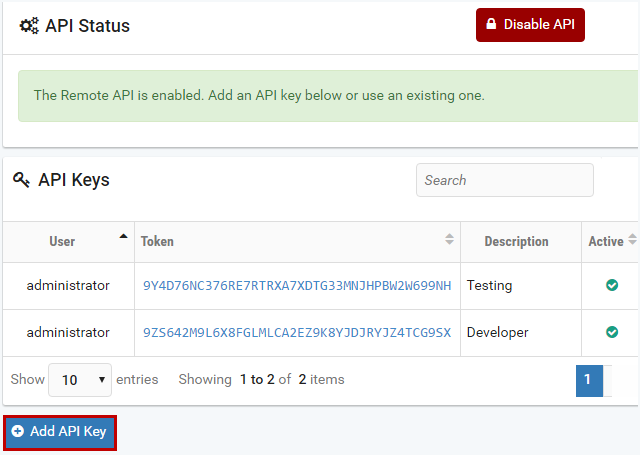
Select the Add API Key button.
The New API Key page is displayed. Enter information into the fields. Refer to the
field descriptions below. Click Submit.

Field Descriptions - New API Key
- Source IPs:
A list of comma-separated IP addresses. Only connections from one of these IP addresses will be allowed for this API key.
- Description:
Include a description to help identify your API key
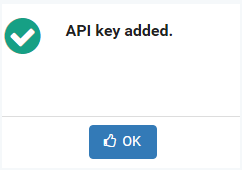
A message indicates the API key has been added. Click OK.
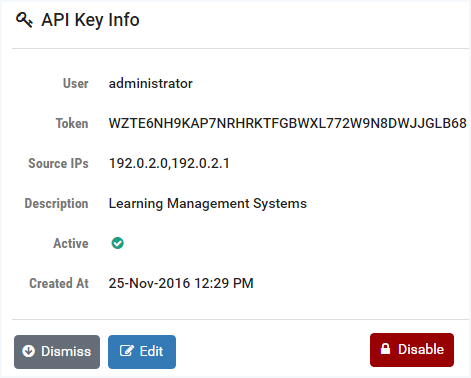
The API key Info page is displayed. Notice that a Token has been generated. This
token will be used to authorize the machine(s) at the Source IP address(es) to
use NETLAB+ functions.
To return to the Manage API Settings page, click Dismiss or continue to the next
section to edit the API Key Info.
Edit an API Key
To edit an API key, select the Edit button on the API key Info page (see the
previous section). The values for User (only the administrator is currently
allowed) and Token cannot be modified. You may modify the source IPs and
select/deselect the checkbox for Active to enable/disable this API key. You may
modify the Description. After making any changes, click Submit.
Note
In the example below, we have unchecked the Active box to disable this API.

A message indicates the API key has been updated. Click OK.
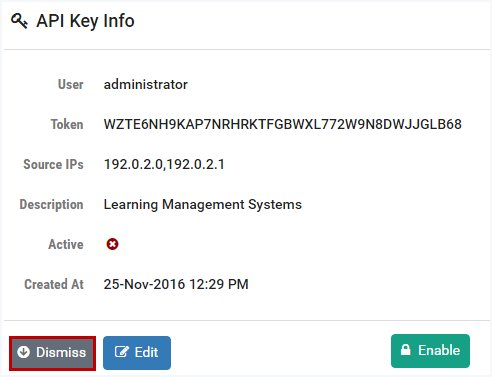
You will return to the API Key Info page. Notice the symbol, indicating that the
key is not active. Notice that API keys can also be enabled/disabled from this
page (by selecting the Enable button). Click Dismiss.
You will return to the Manage API Settings page.
Disable API
In the previous section, we showed, as part of the edit function, how an individual API key can be disabled. In this section, we show how to disable all remote API connections.
To terminate all existing remote API connections, select the Disable API button
located at the top-right of the Manage API settings page.

You will be prompted to confirm this action; click Disable.

Warning
Disabling API requires a restart of the NETLAB+ server process, which may briefly affect user activity.
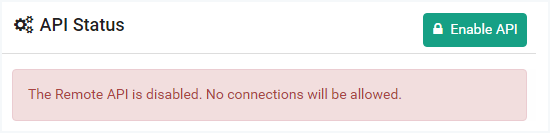
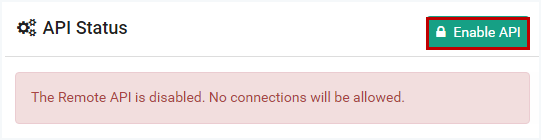
The API Status now indicates that the Remote API is disabled; no connections will be allowed unless the Remote API is enabled.
Enable API
To enable the remote API and all users with valid API keys to remotely access
your NETLAB+ data, select the Enable API button, located at the top-right of the
Manage API settings page.
You will be prompted to confirm this action. Click Enable.
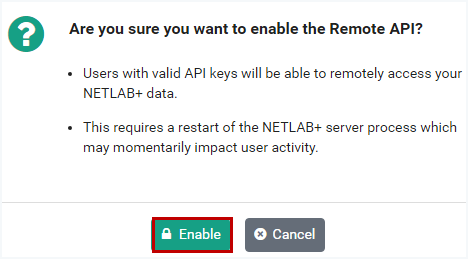
Warning
Enabling API requires a restart of the NETLAB+ server process, which may briefly affect user activity.
The API status now indicates the Remote API is enabled. Any existing API keys are displayed.