Base Install
This section will walk you through the base install of PVE. You may accomplish this through burning the ISO to a CD, USB Drive, or through mounting it over the network while using IPMI/xClarity remote server management.
Tip
Currently Supported Version of Proxmox VE: 8.4.x
Note
This walkthrough was done on a Lenovo SR630V2 High Performance Server as specified from NDG. This also applies to the specifications for Management and Standard server configurations. If you are installing on a Dell Server, Target Harddisk selection may vary.
Boot the Proxmox Virtual Environment Installer.
On the installer screen, select Install Proxmox VE (Graphical) and press Enter.

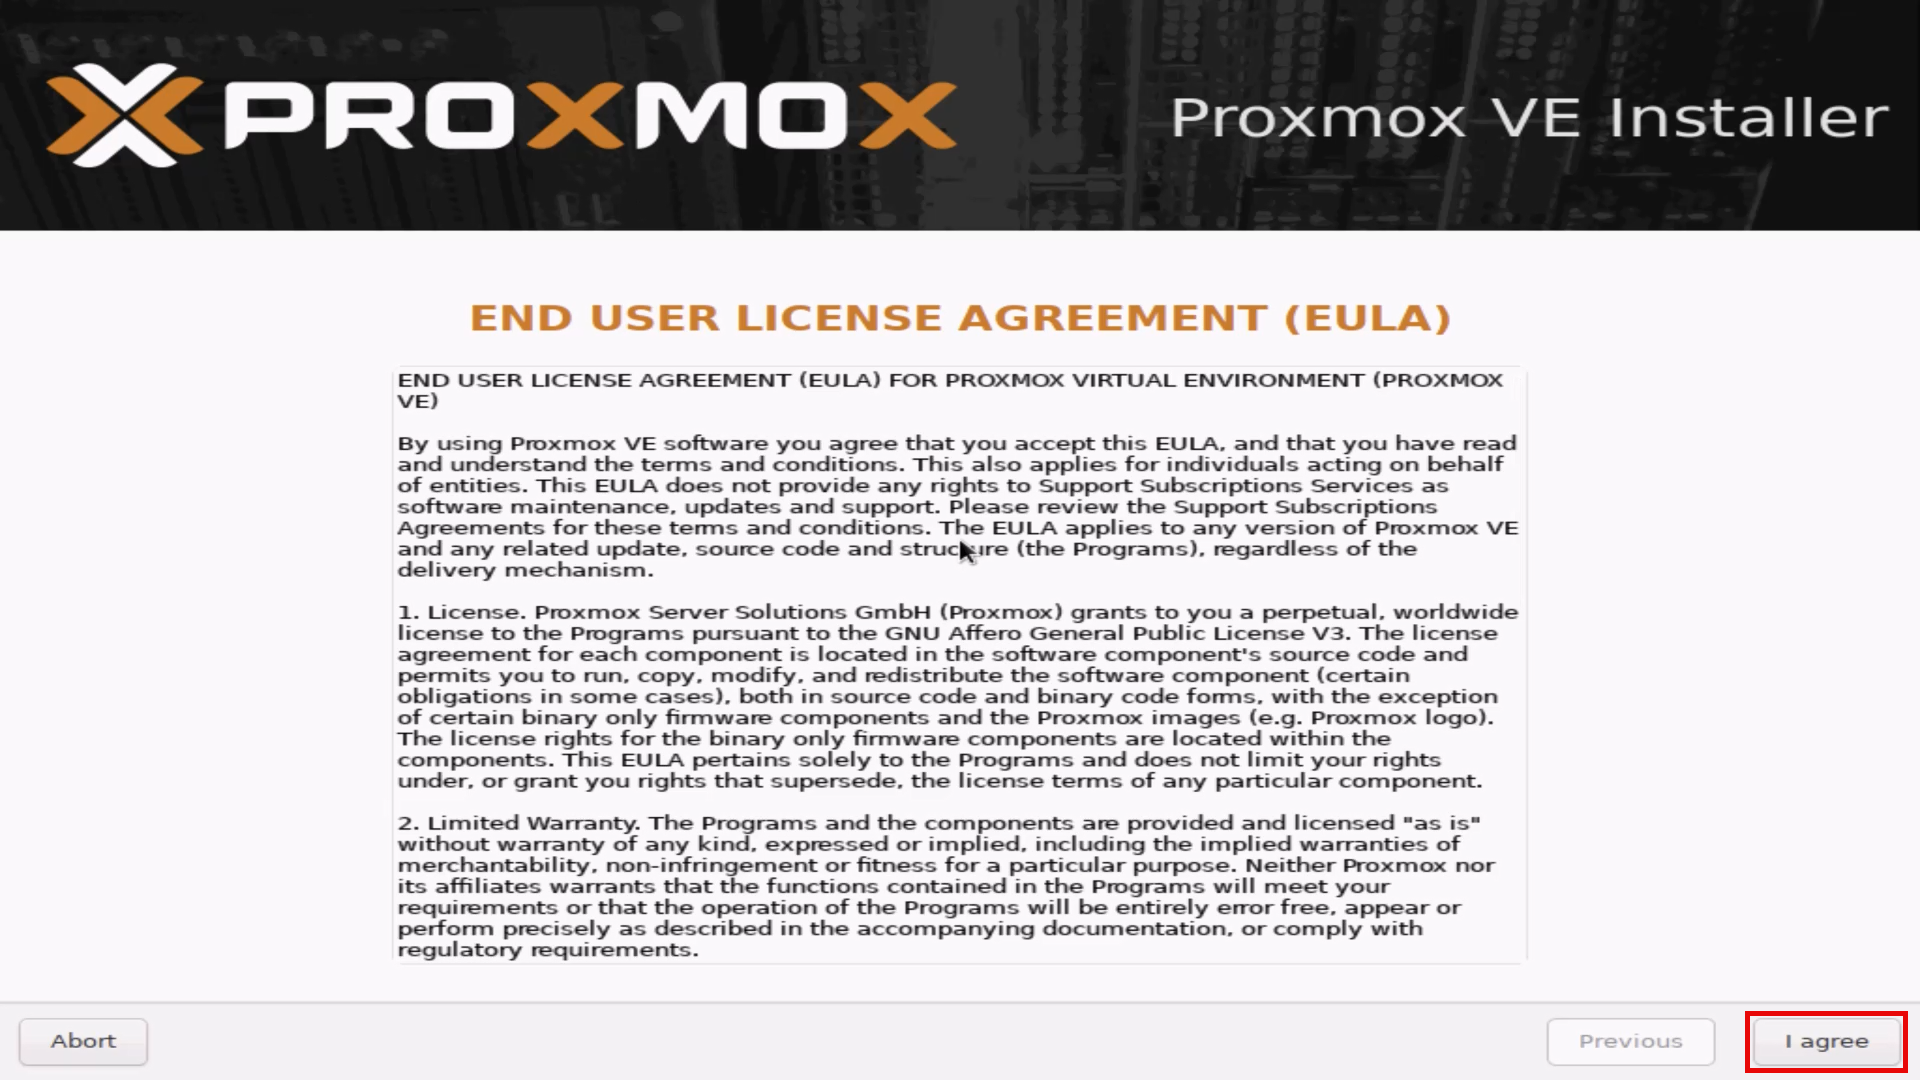
Once the installer has loaded, you will be presented with the END USER LICENCE AGREEMENT (EULA). Please read this and click the I agree button to continue.
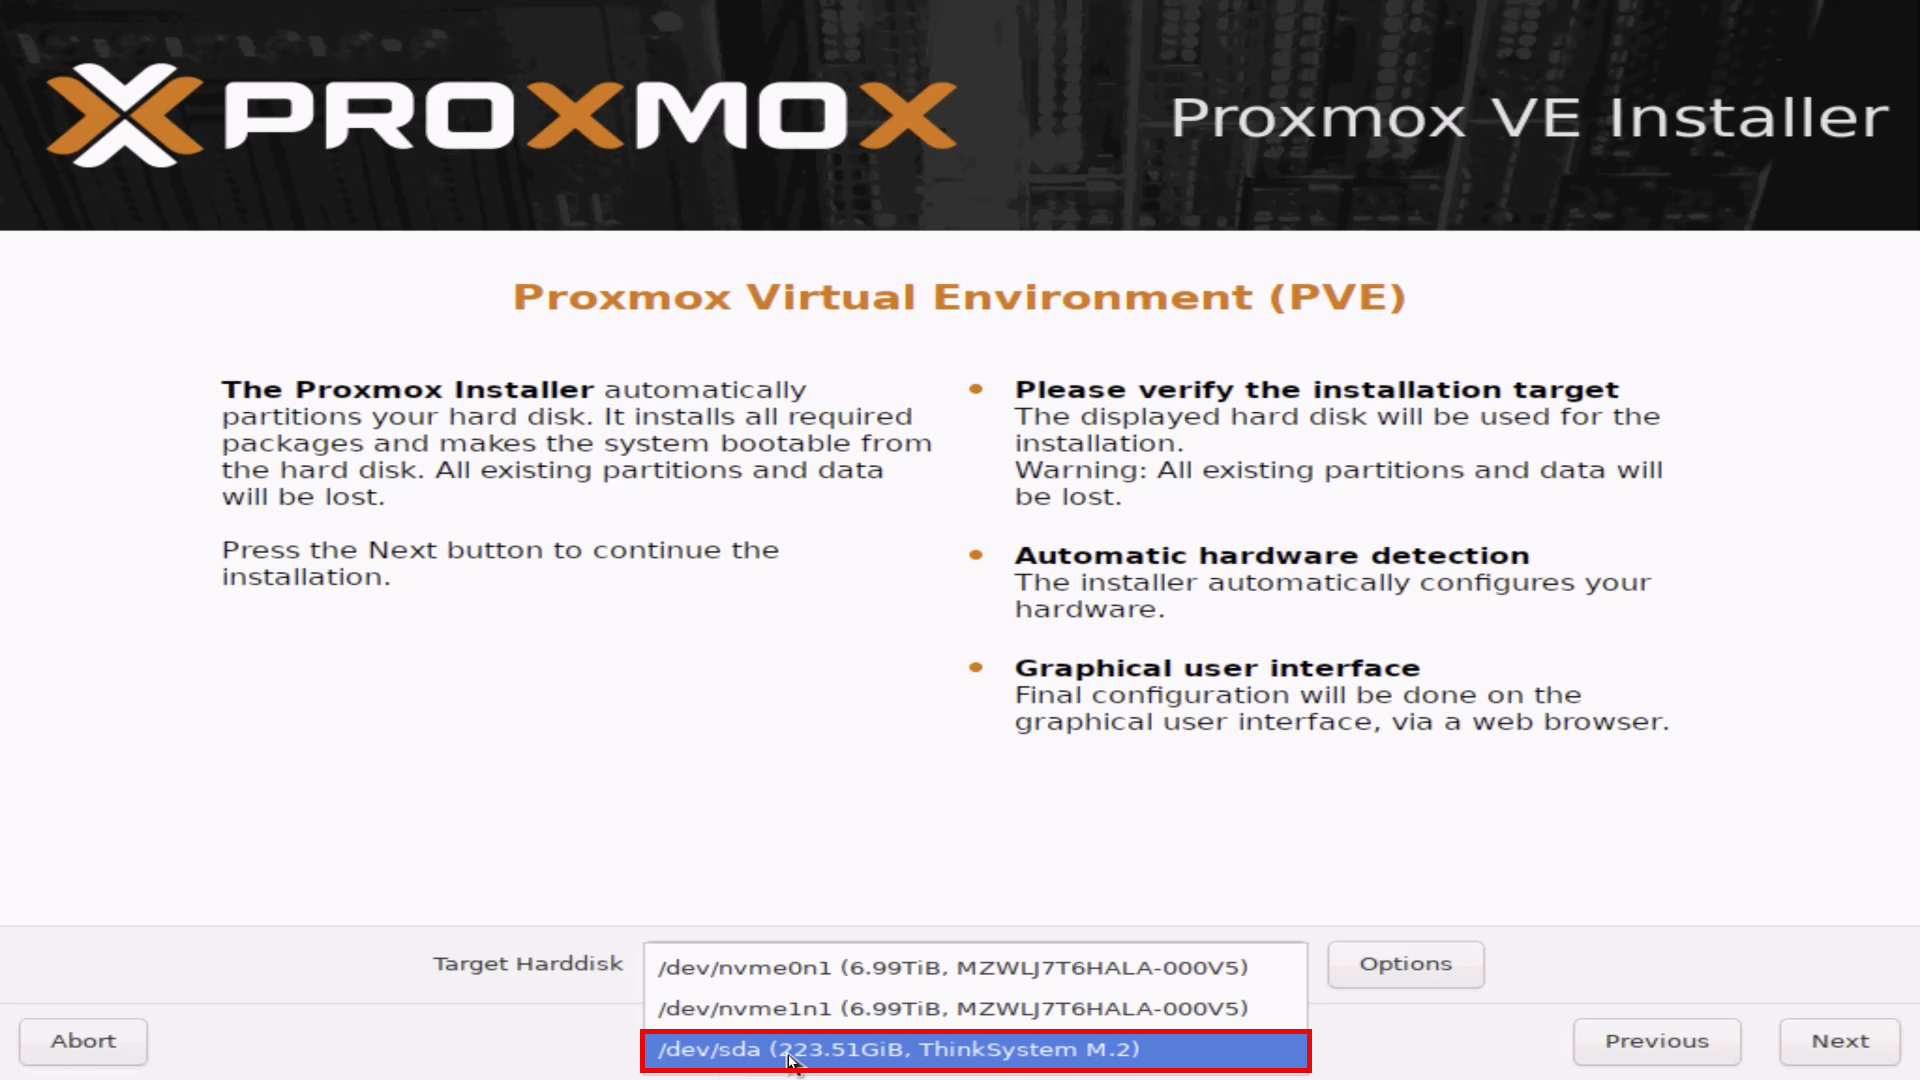
The next screen allows you to set your Target Harddisk.
On Lenovo servers, the NDG Specification has 2x
ThinkSystem M.2SATA SSDs that in a RAID1. On Dell Servers, this is the BOSS drives.
Warning
You should not install the main operating system on your larger NVMe drives.
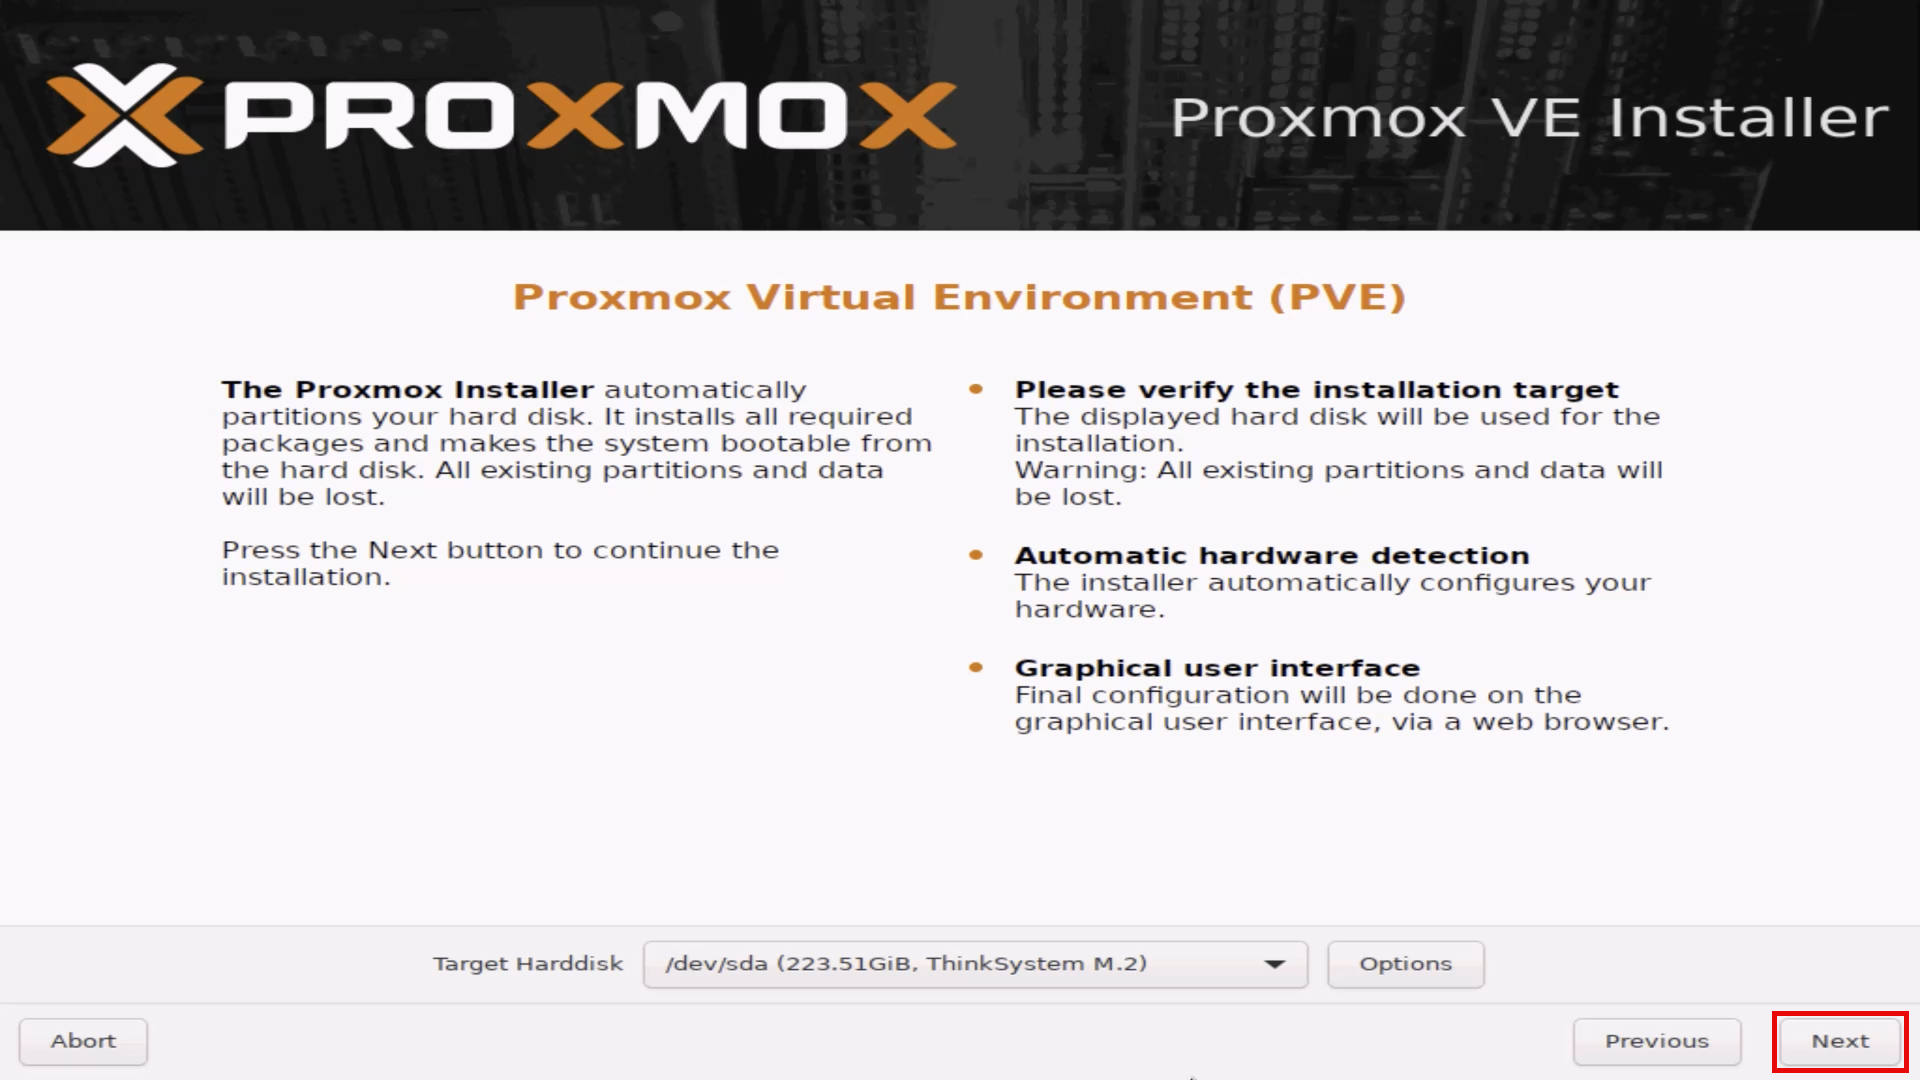
Click on the Next button to continue.
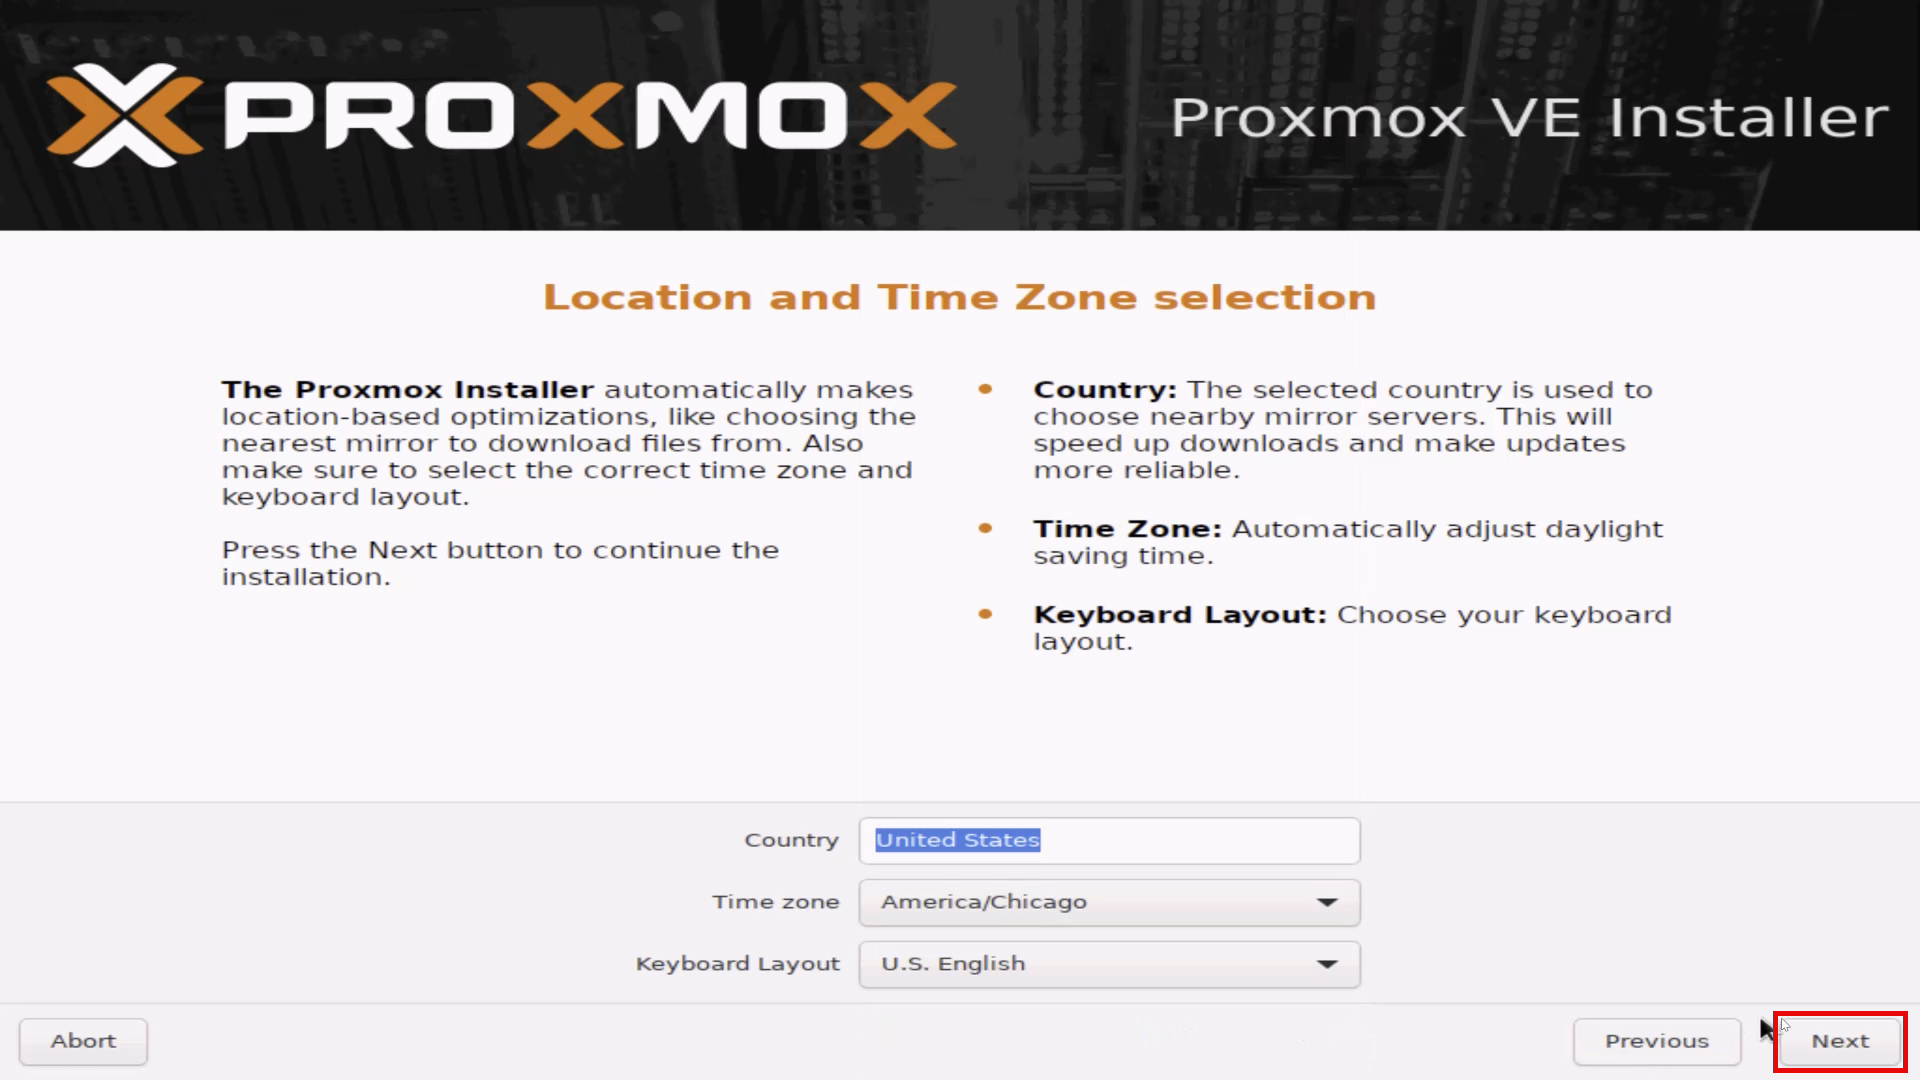
On the Location and Time Zone selection screen, select your appropriate Country, Time zone, and Keyboard Layout. Then click the Next button to continue.
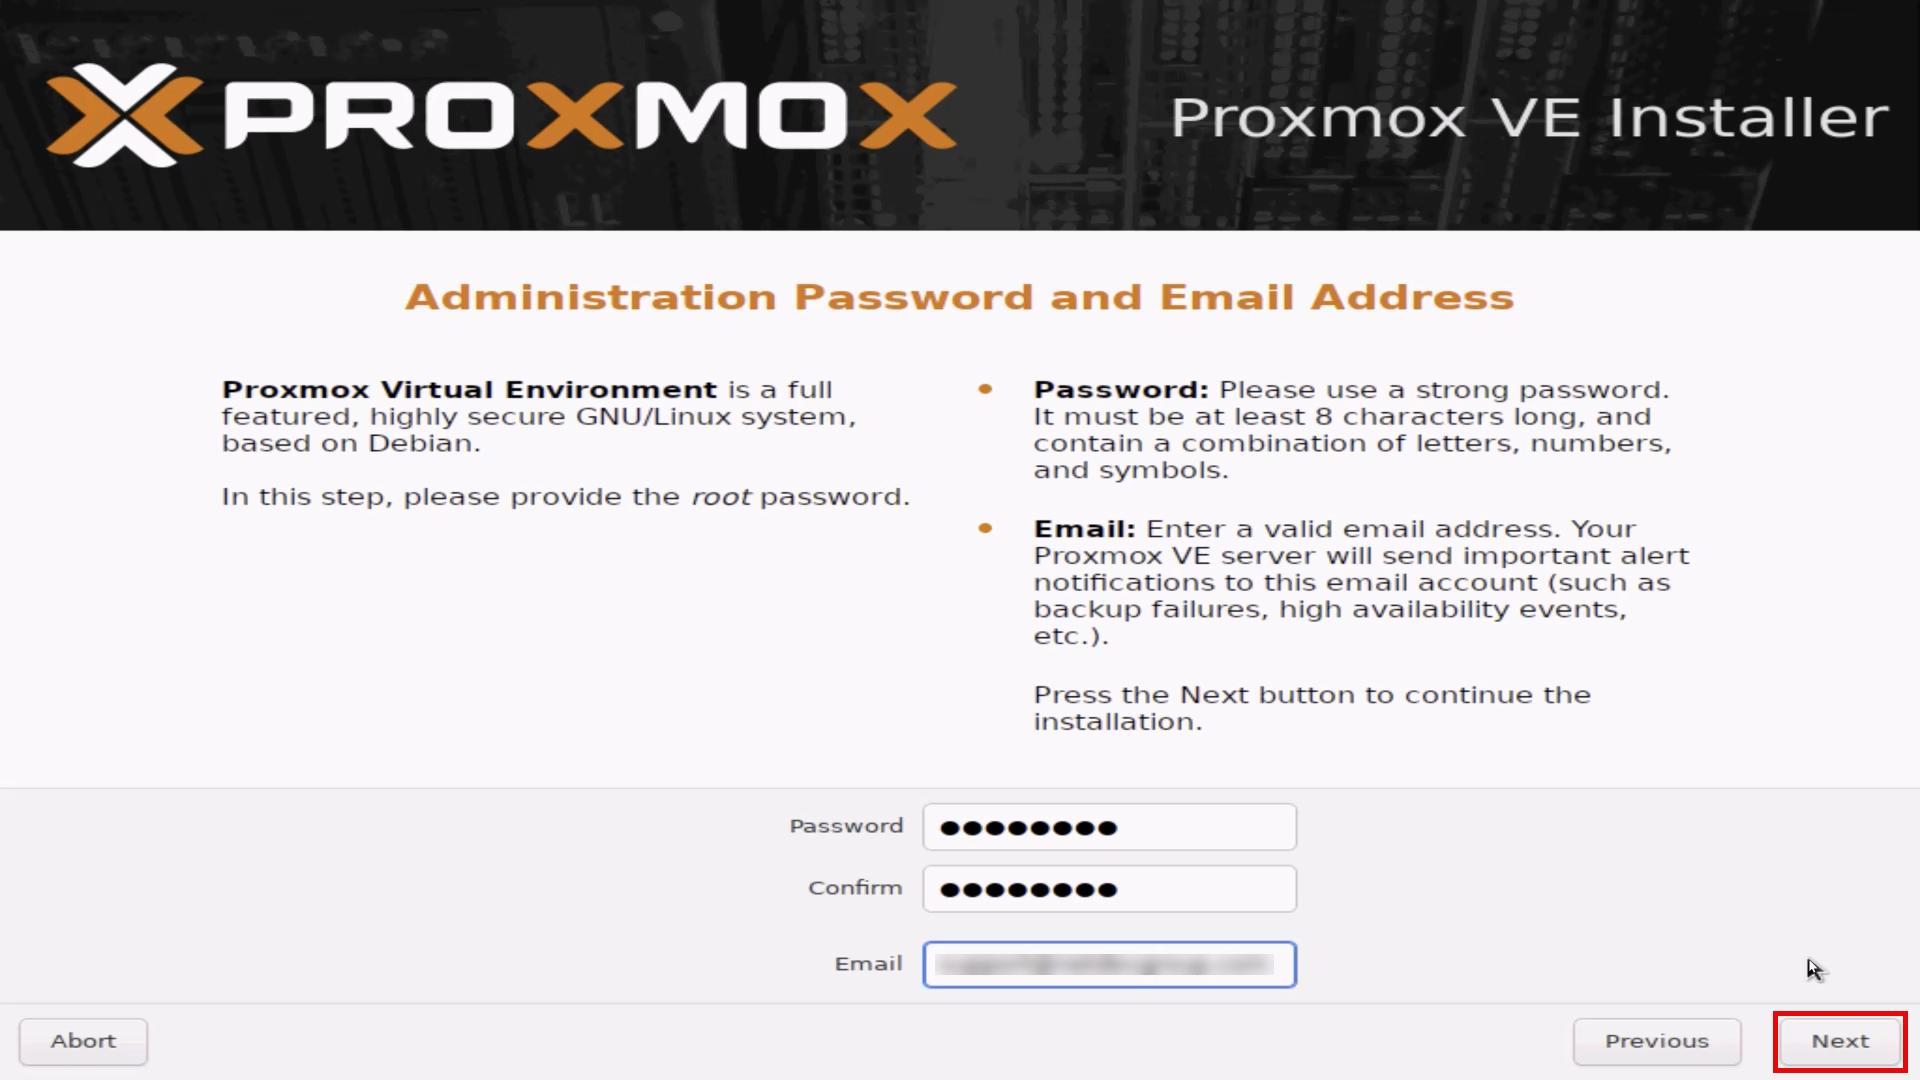
On the Administration Password and Email Address screen, enter your password in the Password and Confirm field. The Email field is required and should be a valid email address as system notifications are sent here. Then click the Next button to continue.
Danger
You must set the root account password the same on all Proxmox VE systems (i.e. management and host servers). Please see Root Account for more information.
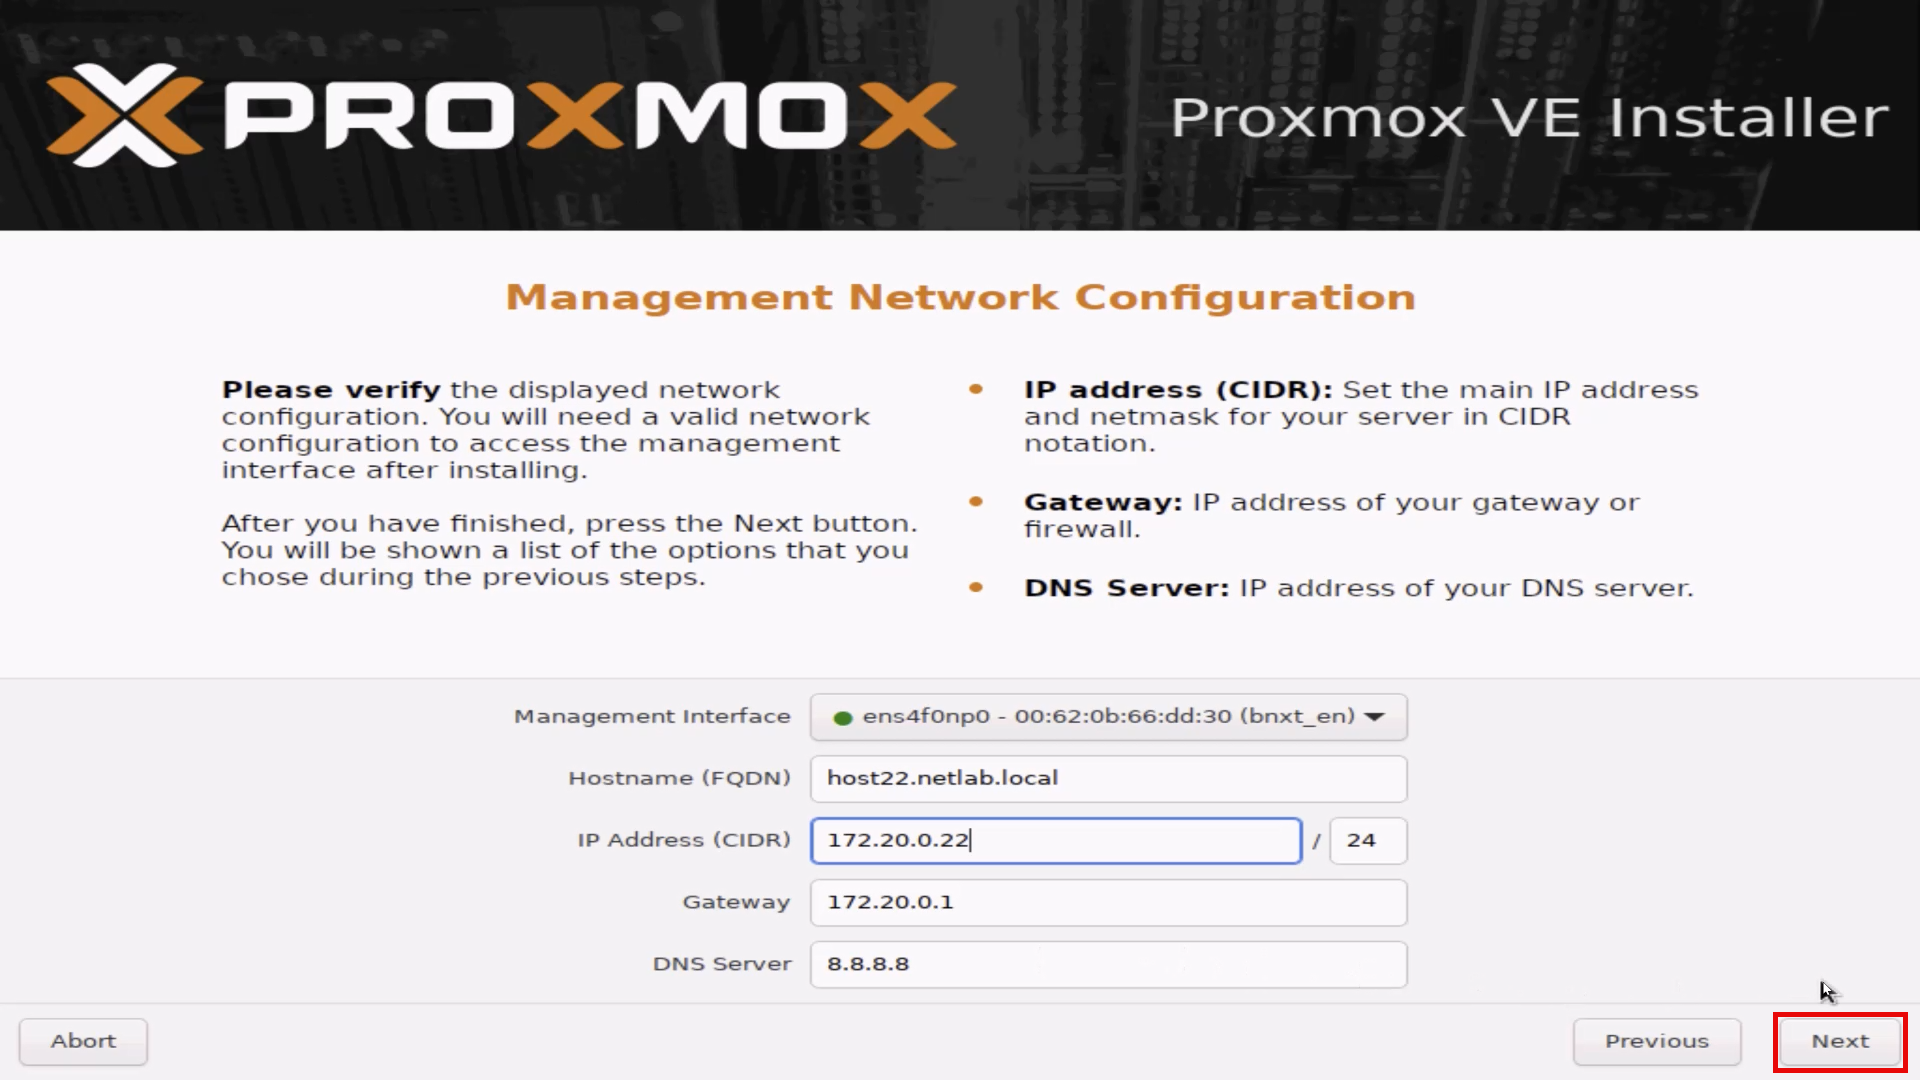
On the Management Network Configuration screen, first select your appropriate Management Interface.
Interface |
Recommended Speed |
Required Min Speed |
Recommended Use |
|---|---|---|---|
ens4f0np0 |
10 Gbps |
1 Gbps |
Management Interface |
ens4f0np1 |
10 Gbps |
1 Gbps |
Cluster Network |
ens4f0np2 |
10 Gbps |
1 Gbps |
User Network (Used for Pod Internet) (optional) |
ens4f0np3 |
10 Gbps |
10 Gbps |
Storage/NFS Network (Used high speed backups) (optional) |
ens2f0 |
1 Gbps |
10/100 Mbps |
NLCONTROL Network (Used for real equipment) (optional) |
ens2f1 |
1 Gbps |
1 Gbps |
Available |
ens2f2 |
1 Gbps |
1 Gbps |
Available |
ens2f3 |
1 Gbps |
1 Gbps |
Available |
Warning
If you use VLANs in your management environment, you can not set VLANs during the installer. You will need to edit your etc/networking/interfaces file after the installer is complete.

Next on the Management Network Configuration screen, enter the appropriate information for Hostname (FQDN), IP Address (CIDR), Gateway, and DNS. Then click the Next button to continue.
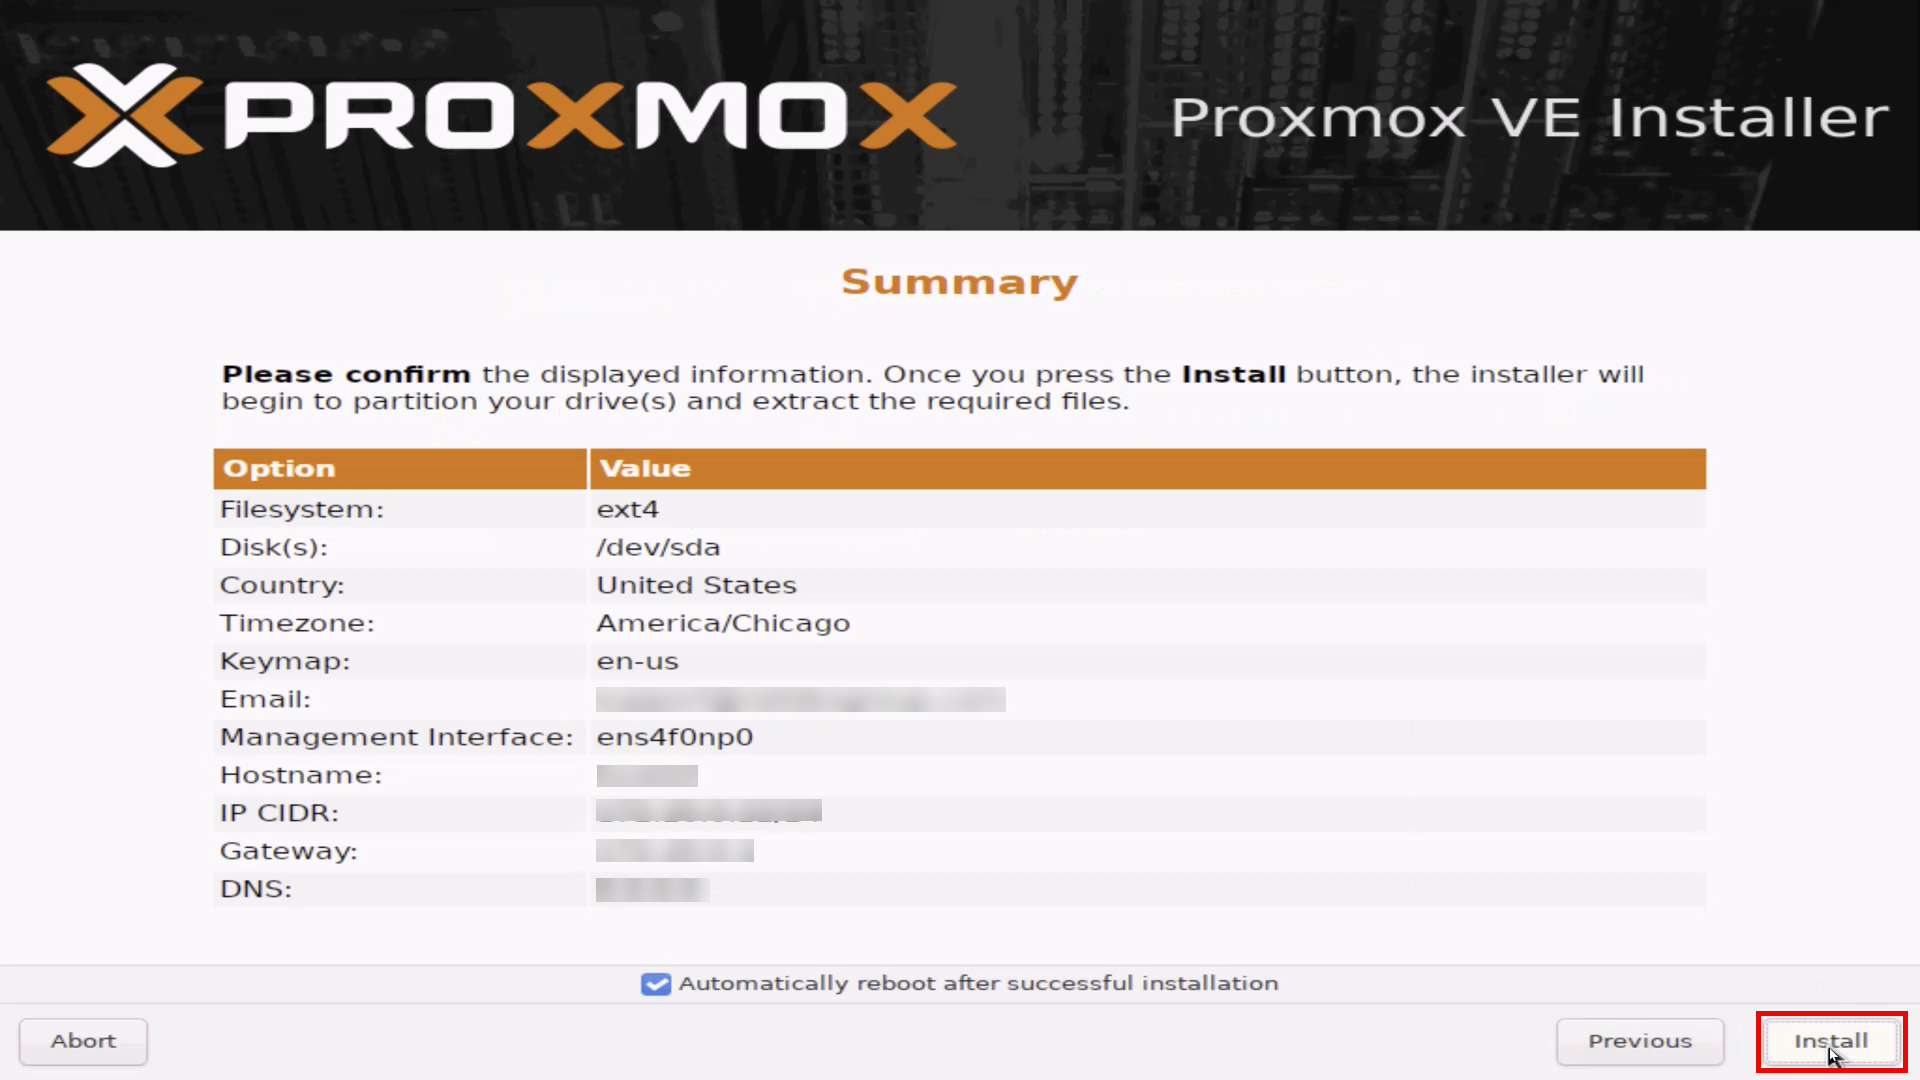
On the Summary screen, review the information and click the Install button to begin the install.
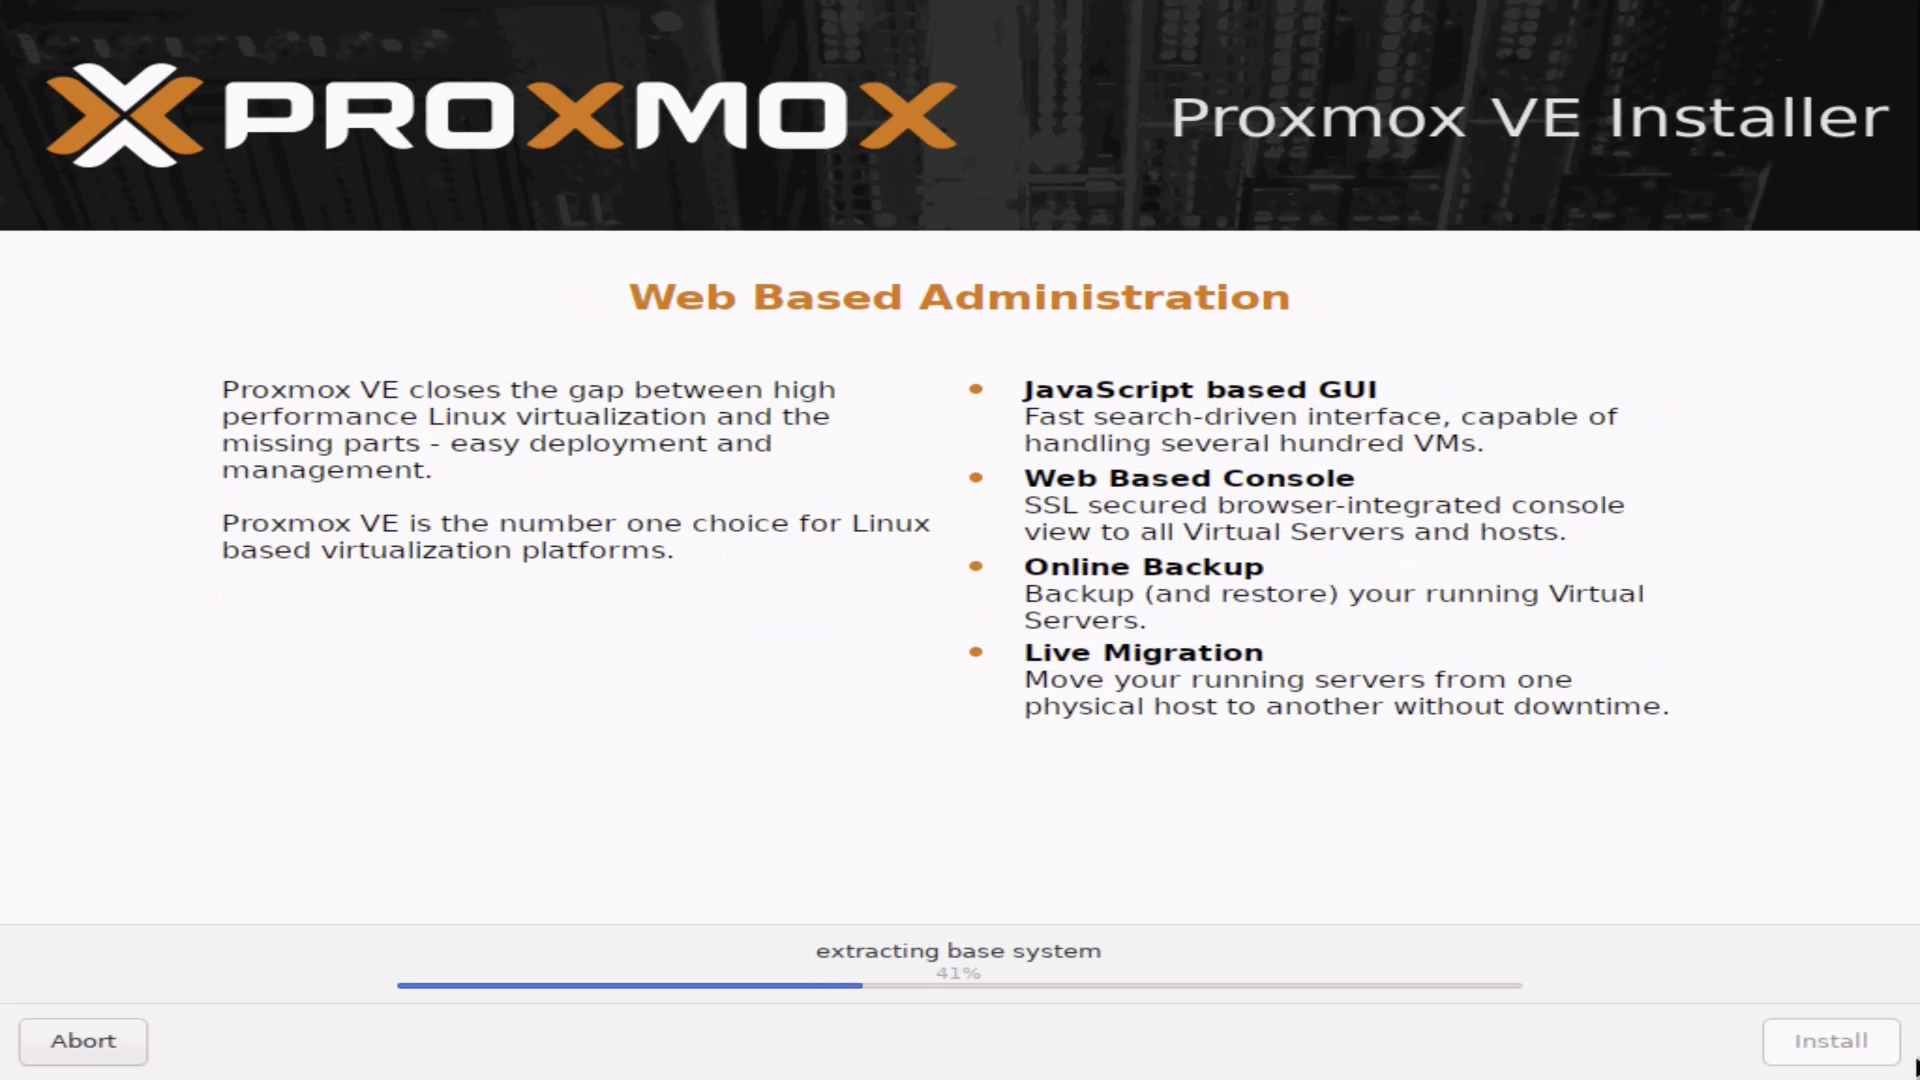
The installation time will vary based on server specifications and ISO mounting. The system will automatically reboot upon completion of the install.
Once the system has rebooted, you will be presented with the login page. From here, users will use the web browser to continue setup using the URL provided onscreen.
